Set up a Telegram MTProto proxy on a Raspberry Pi using Alpine Linux and Docker in a few minutes and communicate freely.
You will need:
- A Raspberry Pi, I’m using a 3B+, but you can choose the release appropriate for the hardware
- A 2 GB microSD card (minimum)
- microSD card reader
- USB keyboard
- An HDMI cable to connect your RPi to your monitor
- An appropriate power supply
- Ethernet cable to connect to the router (WiFi is not recommended)
Before we begin, a few important notes and disclaimers:
- If your country blocks Telegram, setting up an MTProto Proxy using your home Internet connection with a Raspberry Pi is not going to let you access Telegram. This guide is intended to be followed by people living in countries where Telegram is not restricted. Although it is possible to set up your Raspberry Pi to use a VPN, I’m not going to go into details on how to do that in this guide.
- A Raspberry Pi is not a powerful device, and it is relatively easy to take it offline with a DDoS, especially if you publish your IP and port online. It is a better idea to only share your MTProto proxy details with trusted friends and family members.
- I am using a Raspberry Pi 3 Model B+, but instructions are fairly similar for other ARM devices, including Orange Pi or Banana Pi, or newer Raspberry Pi models, and also for Intel-based NUCs. For a small proxy to be used by 5-10 people, you don’t need a powerful computer. Anything manufactured in the last 10 years with at least 1 GB of RAM should be sufficient. Including old office computers or laptops with damaged screens (you can connect them to an external monitor).
- These instructions are with Alpine Linux. I think it is much simpler, faster to install, and more efficient to use Alpine Linux for this purpose. With other distributions like Ubuntu or Debian, network configuration, and Docker installation is a bit different, so consult the respective installation manuals if you choose to use a different distribution.
- You need to know how to open ports with your ISP. Instructions vary, but generally, you can Google something like “How to open ports
”. Sometimes, instructions also differ based on your router model. If your ISP provides access to the router web interface, googling the manual of the specific model of your port will usually work. This also assumes your connection is not behind a [CGNAT](https://en.wikipedia.org/wiki/Carrier-grade_NAT), where opening ports is a much more complicated process. - In addition to opening ports, most home ISPs work with dynamic IP assignment. This means your IP might change every time you reboot your router, or it could change every few days too. The link you will generate later in the article will no longer work if your IP changes. A way to resolve this is to use a dynamic DNS service like no-ip or Dyn. This will create a hostname that points to your current IP. It is your responsibility to keep this hostname up to date when your IP changes, so consult their documentation for more information.
Preparation
Grab an Alpine Linux image for Raspberry Pi from https://www.alpinelinux.org/downloads/. I selected the aarch64 architecture edition in the img.gz format for my Raspberry Pi 3B+.
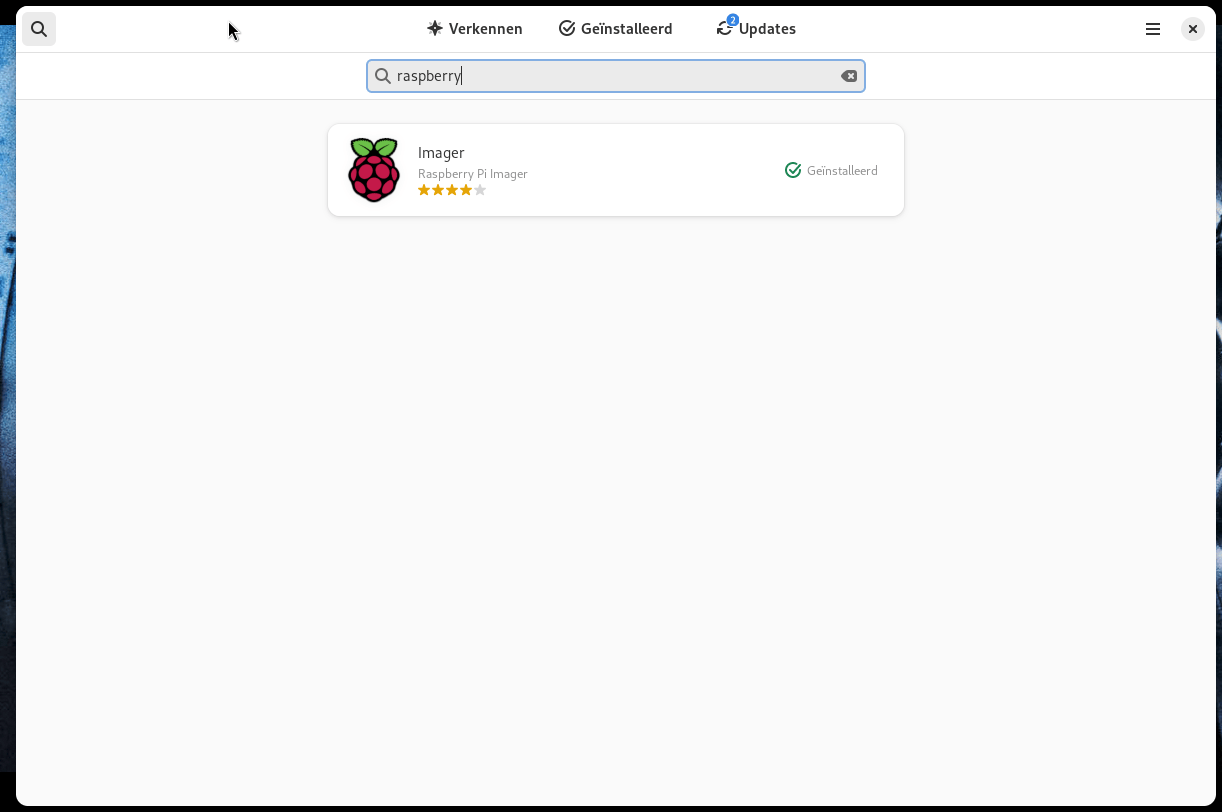
Insert an microSD card into your computer’s microSD reader. The easiest method to flash the microSD card is to use Raspberry Pi Imager: https://www.raspberrypi.com/software/. There are downloads for macOS, Windows, and Ubuntu. On many Linux-based operating systems that support Flatpak, like Fedora, you can find it in your software center by searching “raspberry”.
-
Select your model, the image you have downloaded (note the Raspberry Pi Imager software does not provide Alpine Linux for easy download, but you can simply choose your
.img.gzregardless), and the microSD card to write it to. -
When asked to customise the OS settings like username or network details, skip this step. Alpine Linux cannot be customised using this tool.
Insert the prepared microSD card into your Raspberry Pi, connect it to a monitor using an HDMI cable, attach a USB keyboard (a mouse is not necessary), and then connect the power supply. Your Raspberry Pi should automatically boot to the Alpine Linux login screen.
Installing Alpine Linux
Log in with root . You don’t need to type a password. Then, type setup-alpine and follow the installer questions.
For hostname, you can enter whatever you prefer, it doesn’t have to be equal to the public hostname.
For network configuration (Ethernet recommended), your home router will provide DHCP, but this is a bad idea to use long-term, because if your LAN IP changes (which can happen every few hours or days), the port forwarding you set up in your router will stop working. It is recommended to manually set an IP outside the DHCP pool, to avoid collisions.
Alternatively, some routers offer a MAC to IP pairing that makes the DHCP server remember a host’s IP given its hardware MAC address. In this case, select DHCP here. In any case, your RPi IP is important. Write it down as you will be using it again soon.
- To open a new terminal without cancelling the installer process, press
Ctrl + Alt + F2. - Run
ip a show eth0to find out the MAC address, then you can add this MAC to an IP of your choice in your router settings. This is usually called “DHCP Static IP assignment”. - You can return to the installer by pressing
Ctrl + Alt + F1.
For timezone I chose Europe/Amsterdam.
For NTP client, the default is sufficient, press enter to accept the default choice.
For mirrors, entering f will rank and find the fastest.
No need to set up a user, although using root for everyday activities is discouraged, this will be exclusively a MTProto Proxy box that you will set up once and forget about it.
If you would like to access this Raspberry Pi remotely (without the need for a video or USB cable), then setting up SSH is a good idea. Otherwise, disabling SSH is better from a safety perspective, especially considering this host will be exposed to the internet.
If you want to enable SSH, the easiest is to set up a long and complex password that you will remember. But it is a best practice to use SSH Keys. This is outside the scope of this article, as there are thousands of articles on how to configure an SSH server to use SSH Keys. However, you will likely need to set up password access at least temporarily. To this end, when asked about allowing root access, enter yes. Otherwise prohibit-password will only allow access if SSH Keys have been configured.
Because the Raspberry Pi only has one microSD card slot and no onboard storage, you will have to overwrite the microSD card. This is fine. It will suggest you to try using the boot media. Otherwise, if you reboot the Raspberry Pi or it loses power momentarily, all settings will be lost.
It will look something like /media/mmcblk0. Reply yes to using this boot media, and then type mmcblk0 when the installer asks what disk to use.
For installation mode, sys is the easiest. For encrypted installs or more advanced configurations, please consult the Alpine Linux installation manual.
Finally, setting up your proxy
Reboot, and enter root as user, and your chosen password.
Install some basic tools, run:
apk add vim git nano
You can choose another text editor, only vi is available by default, but nano is recommended for beginners.
To install Docker, we need to enable Community repositories. Edit /etc/apk/repositories. I like using Vim. Simply move the cursor to the # in front of the community repository URL, and press x to delete a single character. To save and quit, type :wq.
My repository list looks like this after the changes:
#/media/mmcblk0/apks
http://alpine.mirror.wearetriple.com/v3.19/main
http://alpine.mirror.wearetriple.com/v3.19/community
Install Docker:
apk update && apk add docker
Let’s add Docker to startup services:
rc-update add docker
Then, start Docker with:
rc-service docker start
Now, generate a secret by running:
docker run --rm nineseconds/mtg:2 generate-secret tgproxy.0x7.io > config.toml
You can choose another domain name that you prefer, there’s more details in the documentation: https://github.com/9seconds/mtg. You have written a secret to config.toml. Now you can edit this config.toml and edit it to look as follows:
secret = "Y0uRS3cr37"
bind-to = "0.0.0.0:7104"
The secret will already be in the file, simply surround it with double quotes, and you can choose another port if you prefer. I recommend setting the same port for the configuration, container, host, and forward in the router, for simplicity reasons.
Finally, Start your Docker container:
docker run -d -v $PWD/config.toml:/config.toml -p 7104:7104 --name mtg-proxy --restart=unless-stopped nineseconds/mtg:2
Note the “unless-stopped” part. This means that, as long as your Docker service is set to start with the system, your proxy container will also start automatically.
If everything went well, you should now be able to connect to your MTProto Proxy through any Telegram client. Print the configuration:
docker exec mtg-proxy /mtg access /config.toml
If you are connected via SSH, you can now copy this configuration and keep it safe to give to friends and family. Finally, forward port 7104 in your router settings to port 7104 on your Raspberry Pi IP (refer to the top of the article on setting up a static IP or configuring DHCP).
If you would like to verify everything is working appropriately, reboot your Raspberry Pi by typing reboot, and if you added your proxy to Telegram, it should connect successfully after a few seconds.
If you have set up a dynamic DNS service, you can replace your IP address from the links generated with your dynamic DNS hostname.
Note: If you face any problems setting up your proxy, please contact me over e-mail and I’d be happy to help. I speak Spanish and English. Find my e-mail on this website’s sidebar!
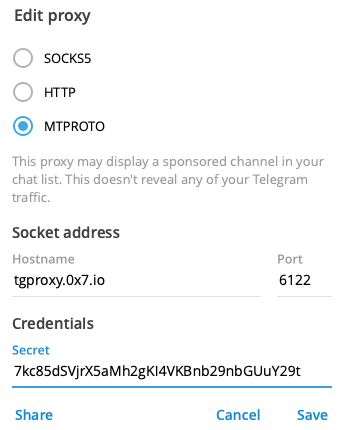
If you need a Telegram proxy, I set up one here. It might not last forever, but if it’s available, feel free to use it! Simply click that link, or add it to Telegram with the following details:
- Protocol:
MTPROTO - Hostname:
tgproxy.0x7.io - Port:
6122 - Secret:
7kc85dSVjrX5aMh2gKI4VKBnb29nbGUuY29t